 English
 Español


How to Prepare Print-on-Demand Artwork for Better Results
Print on Demand
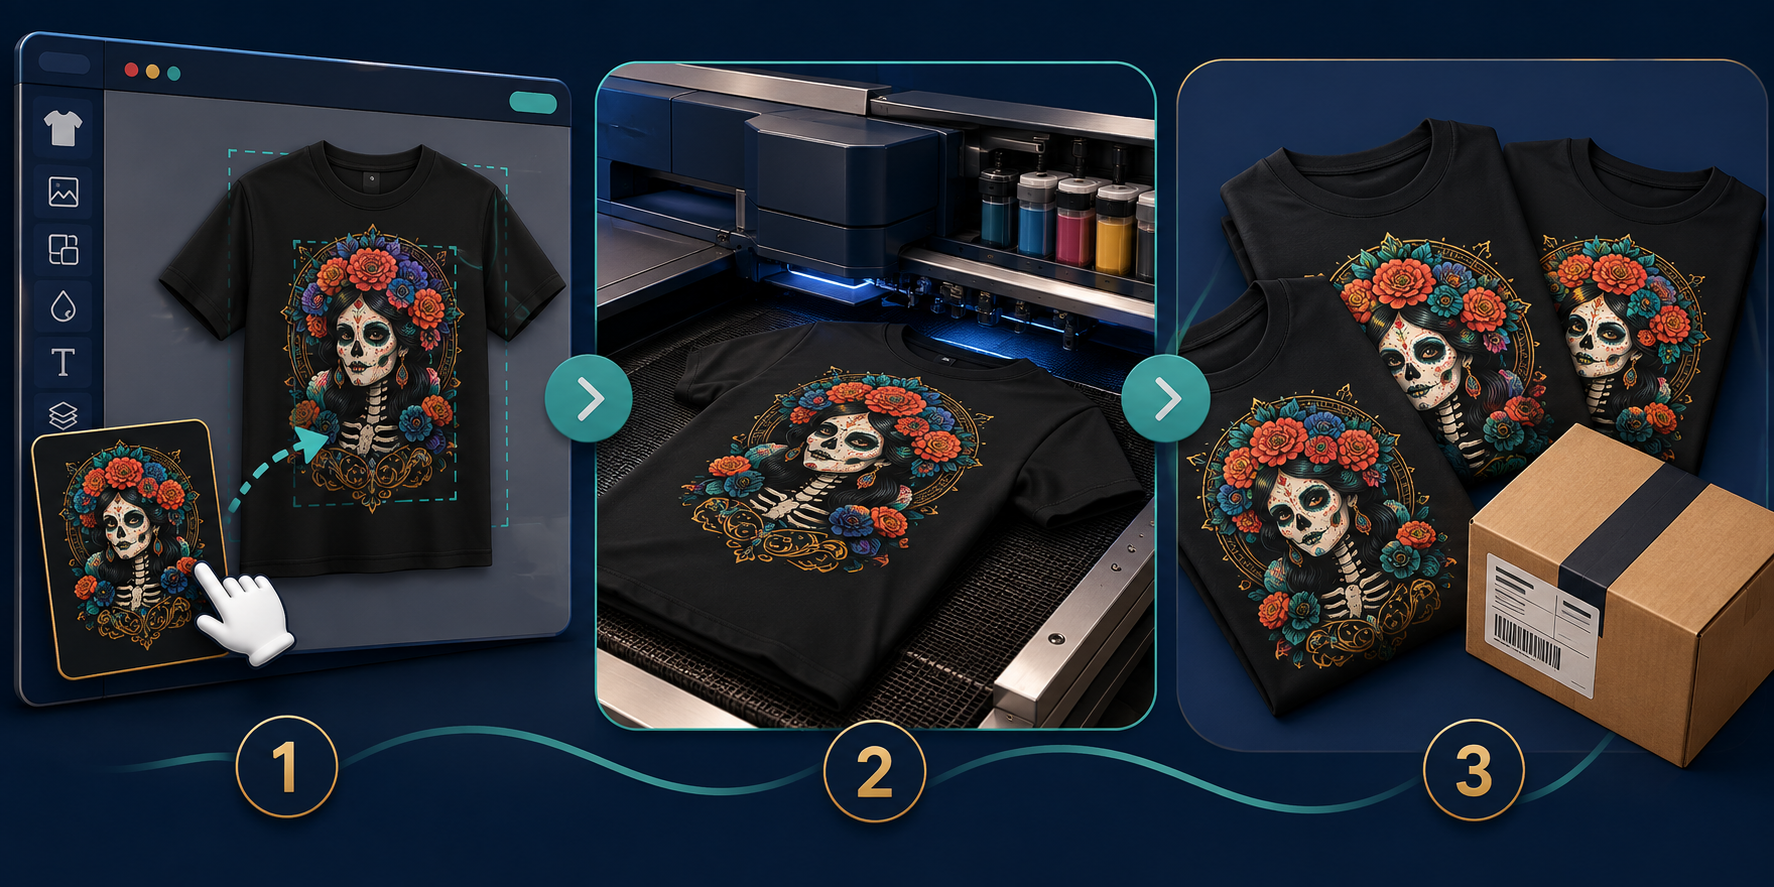
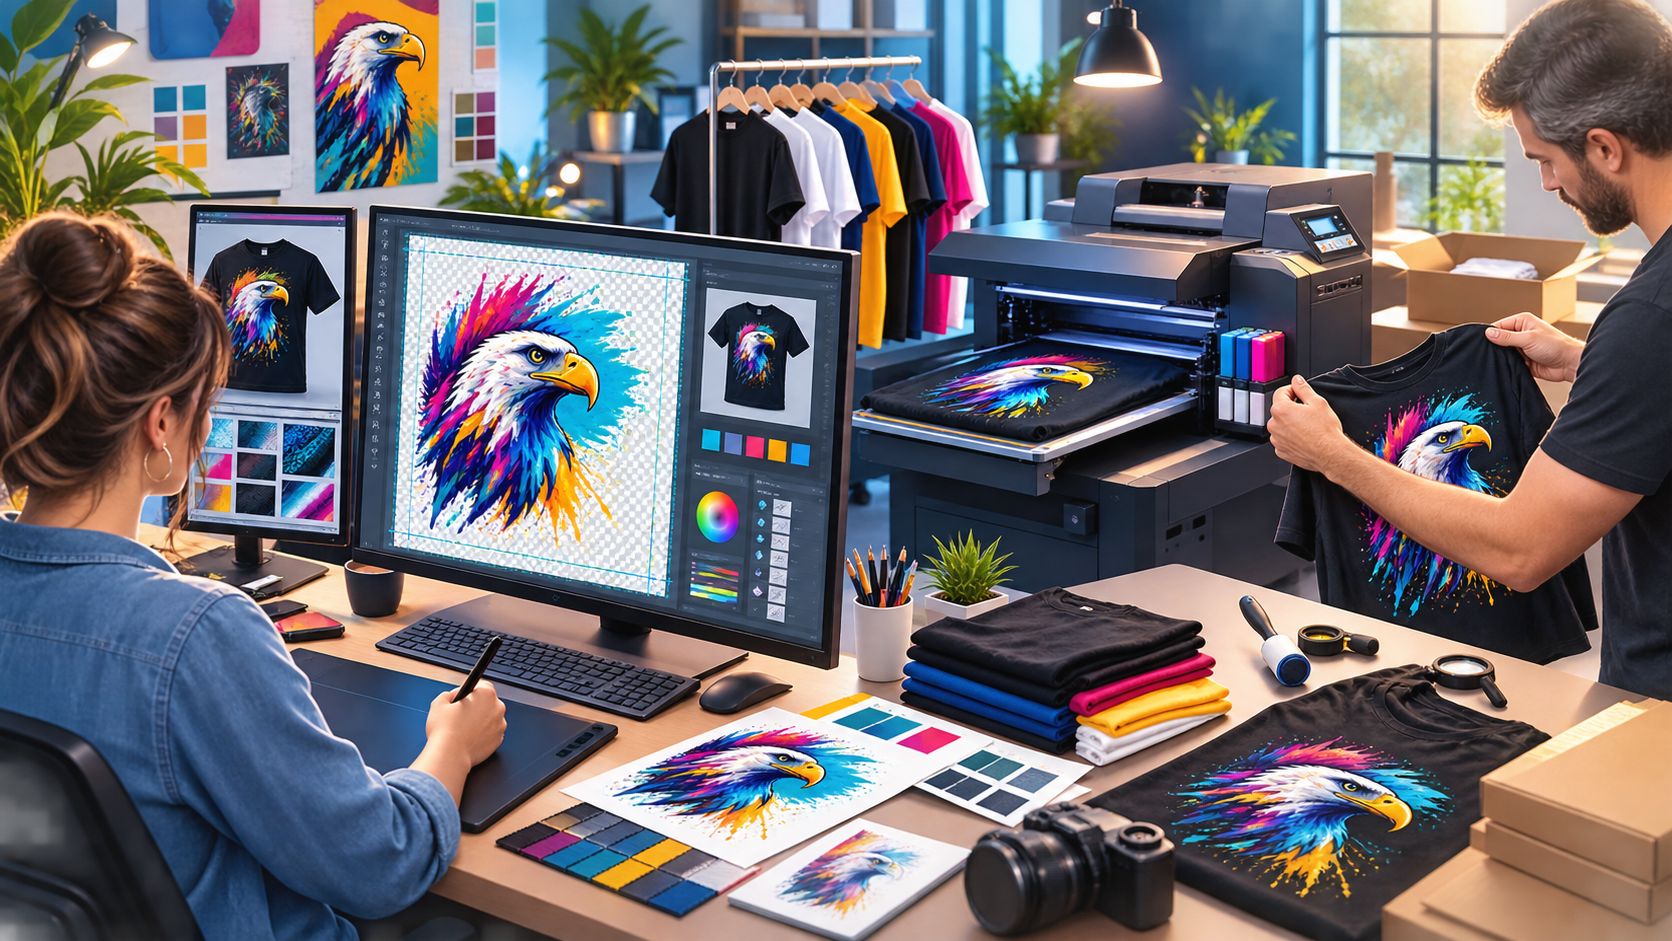
A design that looks excellent on a monitor may not print the same way on fabric. Garment color, print method, image resolution, transparency, fine details, color conversion, and the provider's production process all affect the finished product. Careful file preparation reduces avoidable surprises and creates a more dependable customer experience.
Every fulfillment provider and product can have different requirements. Always confirm the current template, supported file type, dimensions, resolution guidance, color guidance, and print area for the exact item before submitting artwork.
Design for the selected product and method
Choose the garment, color options, placement, and intended print method early. Artwork prepared for direct-to-garment printing may need different treatment from embroidery, sublimation, screen printing, vinyl, or direct-to-film production.
Do not assume one file is ideal for every product. A detailed full-color illustration may work on one process while a simplified version is better for another.
Use the correct template and print area
Download the provider's current product template when available. Place important artwork inside the recommended safe area and consider how the design will appear on different garment sizes. A print that feels balanced on a small shirt can appear differently on a larger one.
Avoid placing essential details against the maximum boundary. Production alignment can vary slightly, so intentional breathing room improves reliability.
Prepare sufficient image detail
Create the artwork at the size and resolution recommended for the product. Enlarging a small raster image does not restore missing detail and can produce soft edges or visible pixels. Inspect the file at a realistic print scale rather than judging only a zoomed-out preview.
Vector artwork can scale cleanly when the production workflow supports it, but effects, embedded images, fonts, and transparency may still require careful export. Convert or package elements according to the provider's instructions.
Clean the background and edges
If the design should print without a rectangle behind it, use a supported file with a genuinely transparent background. Check the edges against both light and dark backgrounds to find white halos, stray pixels, rough selections, or partially erased areas.
Remove invisible or unintended objects outside the design. They can expand the artwork boundary or create unexpected marks during production.
Watch small text and fine lines
Very thin lines, tiny gaps, miniature text, and delicate distressed textures may fill in or disappear on fabric. Review the provider's minimum-detail guidance and simplify fragile elements. Test readability at the actual intended print size.
If text is part of the design, verify spelling and convert or embed fonts as required. Keep an editable source file so corrections do not require rebuilding the artwork.
Plan for garment color and contrast
The same design can feel different on white, black, navy, or bright fabric. Preview every garment color offered. Dark garments may involve an underbase or other production treatment that changes color and texture, while transparent or dark design elements may disappear without enough contrast.
Create alternate light- and dark-garment versions when one file cannot perform well on both. Do not rely on a mockup alone to predict exact color.
Use color expectations, not screen promises
Displays emit light, while printed garments reflect it. Screen calibration, fabric, ink, pretreatment, and production conditions can all affect the result. Review the provider's color recommendations and avoid promising customers an exact monitor match.
Where color is important, document approved test results and use consistent source values. A physical sample is more reliable than judging only from the online preview.
Check rights and permissions
Confirm that you are authorized to print and sell every illustration, photo, font, phrase, character, logo, and other element in the design. A commercial-use license may include restrictions on merchandise, templates, resale, modification, or production volume.
Keep license records and original creation files. Do not assume that content found online or generated with a tool is automatically free of third-party rights or platform conditions.
Export and name files clearly
Keep a master editable file and export a production copy using the required file type and settings. Use names that identify the design, product or placement, color version, and revision. Archive the exact file sent to production.
Before uploading, reopen the exported file and check dimensions, transparency, orientation, spelling, color version, and unwanted objects. Confirm that the marketplace preview uses the correct revision.
Review mockups and order a sample
Mockups help customers understand placement and scale, but they are visual simulations. Inspect each product preview for cropping, position, distortion, and contrast. Avoid mockups that exaggerate print size or hide garment characteristics.
Order a sample before heavily promoting a new design or product combination. Examine print sharpness, color, placement, feel, garment quality, washing behavior, and packaging. Photograph the actual sample when possible and correct the file or listing before wider sales.
Preflight checklist
- Confirm current specifications for the exact product and print method.
- Use the correct template, print area, and safe margin.
- Check resolution, transparency, edges, text, and fine details.
- Preview contrast on every offered garment color.
- Verify rights for all artwork, fonts, and other elements.
- Archive the editable source and clearly named production file.
- Inspect the mockup and approve a physical sample.
Make quality part of the product
Reliable POD results begin before the file reaches the printer. A repeatable preflight process protects the design, reduces replacements, and gives customers a product that more closely matches the listing. Prepare deliberately, test the real item, and update the production file whenever the product or provider changes.